Last year I was asked to take photos of a house a construction company built. I went there with the aim to bracket my shots to give a good choice to play with when I got home. Looking through the shots I decided to edit them in a HDR to give a massive tonal range, as this was not the place for a arty HDR it would have to be a real appearance.
I am sorry to say but you can't do this if your using software before Lightroom 4 or Camera raw 7.0. If you do have software before that time send me a message and I'm sure we can find a different way.
If you can do HDR this way it's an effective way to get the real HDR look like I needed in the shoot I did. First you need to have your shots at different exposures you want to stitch together. I work in
Lightroom so I'm going to right click and go to the edit in HDR pro.
This then brings up Photoshop and the HDR pro dialog box. This is super simple to edit at this stage all you need to do is select the 32bit mode and hit ok, it dosent even matter where the slider is.
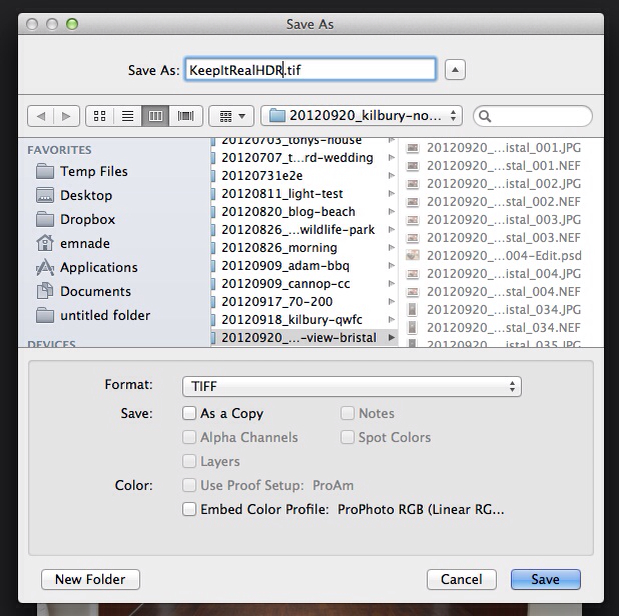
The next step is to save your file. So give it a name and save as a TIFF in a safe place.
When the TIFF Options box pops up all you need to check is the 32bit depth, I leave at default.
Now you are already to import in to Lightroom and start editing like any other file. If your not using Lightroom you can find the TIFF file in bridge, and open in Camera raw.
Here is a file that i edited, it didn't need HDR it's just to show how effective it can be. One is the middle exposure edited the same way as the HDR and the results are very similar. This shows how you would be able to get a HDR image if you could not capture all the data in one file.


No comments:
Post a Comment